
How to A/B Test Audio Cleanup Without Being Fooled by Loudness
Learn a practical level-matched A/B test for audio cleanup, with rapid switching, a difficult chorus, playback checks, and a clear stop criterion.
Compare cleanup fairly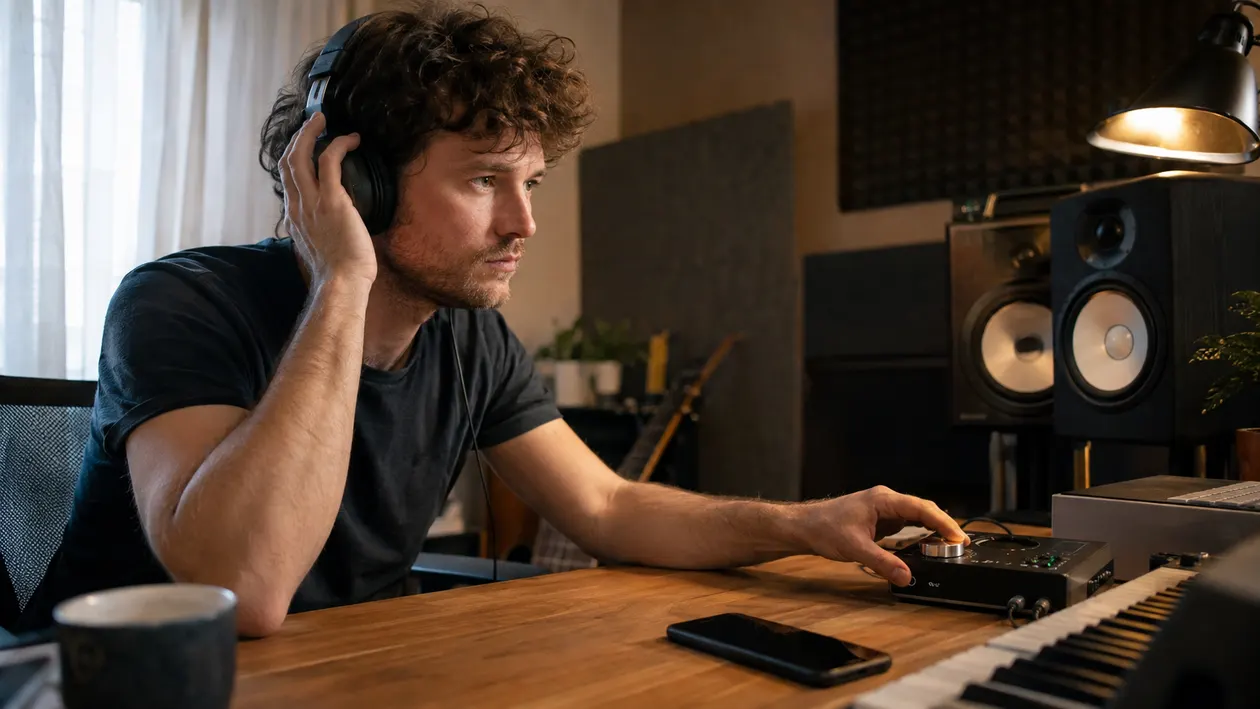
The processed version sounds cleaner the moment you press play, but it is also slightly louder. That small level jump can make the vocal feel closer, the drums firmer, and the whole mix more detailed. Turn it down to match the original and the improvement may shrink or disappear. A fair audio-cleanup test starts by matching perceived loudness, then switches the same musical moment quickly enough that your ears can compare texture rather than volume.
You do not need a mastering suite or a laboratory. Keep the untouched export, make one processed copy, choose a revealing passage, match their levels, and decide in advance what must improve and what must remain unchanged. The method is simple. The discipline is in changing one variable at a time.
Why louder sounds better
A level increase changes more than the number on a meter. At ordinary listening levels, a louder version can make bass and treble feel more present, push the vocal forward, and make transients seem more definite. That can be enjoyable, but it does not prove the cleanup removed an artifact. It proves that the playback level changed.
Peak meters do not solve this comparison. Two files can reach the same highest peak while one feels louder across the phrase. The EBU adopted loudness-based measurement because peak normalization alone can leave large perceived-level differences between programmes. ITU-R BS.1770 provides the underlying method for estimating programme loudness and true-peak level. The standard also notes that measured loudness remains an estimate: listeners, material, and listening conditions still matter.
For an A/B test, that means LUFS is a useful starting point, not a verdict. Integrated loudness describes a whole file or measured selection. Short-term and momentary readings help with a smaller passage. None of them tells you whether a metallic edge has receded, whether a consonant has become dull, or whether the chorus still has the same lift.
There is another trap. Cleanup often removes bright, busy energy. The processed version may become a little quieter even when the result is better. If you compare it directly with the louder source, you may reject useful work. If you automatically turn it above the source, you may approve too much processing. Match first, then listen.
Name the symptom before touching the gain control. Write something concrete: “the held vocal has a glassy edge,” “the cymbal tail breaks into spray,” or “the reverb masks the next word.” A vague target such as “make it professional” invites you to reward any impressive change, including loudness.
Practical level matching
Start with two files derived from the same export: the untouched original and one cleanup candidate. Do not compare a WAV with an MP3 that went through another encode, or a mastered file with an unmastered cleanup. Those comparisons contain extra variables.
Use this manual path:
- Put both versions in the same player or DAW and align their starts precisely.
- Disable automatic normalization, Sound Check, volume leveling, enhancement modes, and other playback processing when you can. You want one known level adjustment under your control.
- Choose a ten-to-twenty-second passage that contains the artifact and enough surrounding music to reveal collateral damage.
- Measure that same selection in both files with a loudness meter if one is available.
- Lower the louder version by the measured difference. Adjust gain only; do not add limiting or normalization that changes the dynamics.
- Switch by ear and trim in small steps until neither version announces itself through a level jump.
Audacity’s Loudness Normalization effect can set audio to a LUFS target, but rendering new normalized files is not required for every comparison. A non-destructive clip-gain or output-gain change is easier to undo. If you do render test copies, keep the original files untouched and label the copies clearly.
Avoid chasing a perfect decimal. A meter may say the selections match while a bright vocal or dense bass changes perceived balance for you. Get close with the measurement, close your eyes, and switch several times. If you can still identify the candidate from a general jump in weight or presence before hearing the target artifact, make another small gain adjustment.
Do not touch the monitor knob between versions. Set a comfortable listening level once. Loud forensic playback tires your ears and can make top-end problems feel larger than they are in normal use. Repeat the comparison quietly after the first pass; a useful cleanup should not require extra volume to reveal its benefit.
Rapid switching
Auditory memory for fine texture is short. If you listen to the original for a minute, stop, load another file, and restart, you are comparing an impression with a new sound. The room, your attention, and the restart delay all enter the decision.
Use the same two-to-five-second fragment and switch without losing the musical position. Listen for one attribute per pass. On the first pass, follow only the named artifact. On the next, follow the vocal consonants or cymbal decay. Then check width, depth, and punch. This keeps “cleaner” from becoming a catch-all answer.
Randomize the order when the decision feels close. Ask someone to switch the files without telling you which is which, or rename temporary copies so the labels do not reveal the processing. You do not need a formal double-blind trial for every mix decision. You do need a way to catch the moment when you are choosing the file you expect to prefer.
Make several short choices rather than one heroic listen. If the processed version wins only on the first switch, then loses after level correction, the first reaction was probably not reliable. If you choose it repeatedly for the same audible reason and cannot identify new damage, move to a longer phrase.
Rapid switching is a diagnostic step, not the final approval. A processor can improve one syllable while making the next line smaller. After the short comparison, play the complete phrase without switching. Then play the chorus from its lead-in through the downbeat after it. Musical continuity matters more than winning a two-second contest.
Choosing the busiest chorus
I usually check the busiest chorus first. That is where a synthetic edge tends to stop hiding behind the arrangement, and it is also where broad processing can damage the most sources at once. Vocals, cymbals, synths, bass, ambience, and limiting may all compete in the same few seconds.
Choose a chorus that contains the exact symptom, not merely the loudest waveform. A vocal-cleanup test needs a phrase with the troublesome vowels and consonants. A cymbal test needs repeated hats or a crash decay. A smeared-reverb test needs the transition from one phrase into the next. Mark the start and end so every replay covers the same material.
The busy chorus gives you two questions:
- Is the named artifact less distracting at matched loudness?
- Did the treatment weaken anything that was already working?
Listen for snare attack, vocal diction, bass stability, cymbal rhythm, stereo depth, and the moment the chorus opens. A darker file can hide metallic brightness while also removing air. A compressed file can appear controlled while flattening the groove. A narrowed file can sound focused in headphones while losing the width that carried the chorus.
Pair the chorus with one exposed section. The exposed passage helps you hear the defect clearly; the chorus tests whether the cure survives real musical density. Keep a candidate only when it improves both views. If it helps the isolated phrase but harms the chorus, reduce the amount or automate the local moment instead of processing the whole file.
You can use the browser-only spectrogram generator to locate repeated bright bands or changing energy before you choose a passage. Treat the picture as a navigation aid. It cannot decide whether a bright region is wanted cymbal energy, vocal air, or an artifact, and it cannot replace a level-matched listen.
Headphones, speakers and phone checks
Begin on the playback system you know best. Headphones are useful for hiss, tiny chirps, stereo movement, and reverb texture. They can also exaggerate detail that disappears at normal speaker distance. Studio monitors reveal balance and depth in the room, but the room itself can color bass and low mids.
Use a second system after the decision is stable on the first. Small speakers or a phone are not quality references; they are translation checks. They tell you whether the vocal still reads, whether the groove survives, and whether the cleanup created a thin or phasey result when bass and stereo width are limited.
Keep the test conditions comparable:
- use the same files and the same marked passage;
- keep device enhancement and normalization settings consistent;
- do not compare one version quietly on headphones and the other loudly on speakers;
- start below an exciting level and take a short break if the top end becomes hard to judge.
Do not demand that every device expose the same flaw. A faint hiss may be obvious only on closed headphones. A broad tonal loss may become clearer on a phone. The processed version passes when the target problem recedes where it matters and the song remains convincing elsewhere. It does not need to sound identical across devices.
The wider Suno artifact-removal workflow helps when the test reveals that the issue belongs to a stem, a performance, or a creative edit rather than cleanup. A/B testing protects the decision; it cannot make the wrong tool suitable for the source.
Decision log and stop criterion
Write a tiny decision log before you forget what you heard. It can fit in four lines:
| Field | Example |
|---|---|
| Target symptom | Glassy edge follows the held chorus vocal |
| Test passage | 01:04–01:18, level matched by lowering candidate 0.8 dB |
| Improvement | Edge distracts less on the held vowel |
| Cost | Cymbal tail is slightly shorter; acceptable only at the lighter setting |
Record the gain offset. Without it, tomorrow’s comparison may repeat the same loudness mistake. Also record the playback systems and the processing amount. If you cannot describe the improvement without words such as “bigger,” “closer,” or “more powerful,” check the level again.
Use a stop criterion that protects the song: keep the lightest pass that makes the named artifact less distracting at matched loudness while preserving diction, transients, depth, stereo balance, and emotional movement. Stop immediately when another pass mainly makes the file darker, flatter, narrower, quieter, or less alive.
Over-processing is easy to rationalize because every extra step sounds like work completed. It can remove vocal air, shorten cymbals, pump ambience, smear transients, or replace one synthetic texture with another. If the defect is mild at normal volume, leaving some of it may produce the more believable result.
I built Sunofix for tracks where the song already works, but the exported mix still has a synthetic edge. Use it after you have named a repeatable artifact and made a fair manual comparison. Sunofix provides a processed WAV, before-and-after playback, and diagnostics so you can judge the same passage against the original.
Compare cleanup fairly with the original close at hand and the monitor level unchanged.
The Sunofix path does not remove the need for the test. Match the versions, switch the busy chorus, check an exposed phrase, and write down the tradeoff. Sunofix does not rewrite lyrics, melody, arrangement, timing, or performance. It cannot reconstruct missing source detail, isolate instruments inside every finished stereo mix, complete mastering, or guarantee approval from a distributor or platform.
Once the cleanup survives the decision log, continue with the release-readiness checks for clipping, mono compatibility, device translation, metadata, rights, and final mastering. If the candidate fails at matched loudness, keep the original and revise the processing. The honest winner is the version that improves the named problem without needing a volume advantage.
Continue listening
Related reading
FAQ
How to A/B Test Audio Cleanup Without Being Fooled by Loudness FAQ
What does level-matched A/B testing mean?
It means adjusting the original and processed versions so they have similar perceived loudness before you compare them. The goal is to judge the cleanup itself rather than prefer one file because it plays louder.
Do I need a LUFS meter to compare audio cleanup?
No. A loudness meter makes the first match faster, but you can trim the louder version by ear while switching the same short passage. Use the meter as a starting point and your ears for the final small adjustment.
How long should an A/B comparison be?
Use short switches of roughly two to five seconds to identify a difference, then replay the complete phrase and the busiest chorus. Long uninterrupted plays make it harder to remember the exact texture of the previous version.
When should I stop cleaning an AI music track?
Stop when the named artifact is less distracting at matched loudness and the vocal, cymbals, depth, transients, and energy still hold together. Back off when the result is mainly quieter, darker, flatter, narrower, or less emotional.